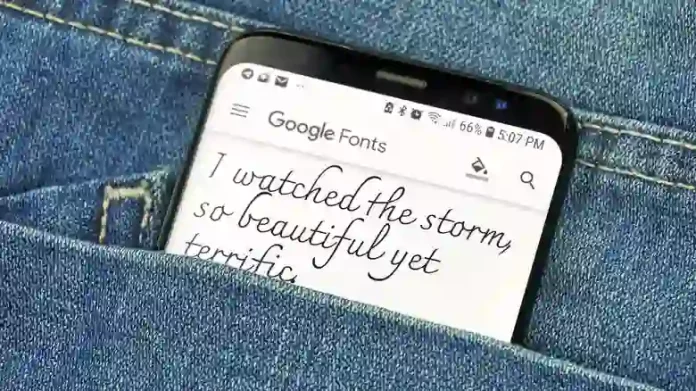
Personalization is one of Android’s biggest strengths, letting you tailor almost every aspect of your device’s look and feel. From themes and icon packs to launchers and widgets, you can make your phone truly your own—and that includes fonts. Every manufacturer uses a different default style—Google’s Pixel font differs from Samsung’s, for instance—but you’re not stuck with what comes out of the box. You can switch fonts to make them more readable, creative, or accessible, enhancing both usability and personal expression. Android even lets you apply visual enhancements such as outlining text or inverting colors for better on-screen clarity.
Adjusting Font Settings on Android
Font controls live in slightly different places depending on your device:
- Pixel and stock Android: Go to Settings > Display > Font size or Settings > Accessibility.
- Samsung Galaxy devices: Find them under Settings > Display > Font size and style or Settings > Accessibility >
Vision enhancements.
These menus are divided by purpose. The standard Font size option lets you adjust character size with a simple slider—just drag to the right to enlarge text. The accessibility section offers more advanced visual tweaks such as high-contrast text, bolding, outlines, and color corrections for easier viewing.
You’ll also find accessibility tools like TalkBack, which reads aloud on-screen content, and Expressive Captions, which generate AI-powered subtitles and contextual cues. While the exact menu names might vary slightly between brands, the general layout remains consistent across Android devices.
Installing Custom Fonts on Android
If the built-in fonts aren’t enough, Android offers several ways to go further.
The simplest method is through a custom launcher—an app that changes how your home screen and interface behave. Popular options like Smart Launcher, Total Launcher, Niagara, and Lynx let you customize font styles alongside icons and layouts. For example, once Smart Launcher is installed, long-press the home screen, open Settings > Global Appearance > Font, and choose styles for titles and body text.
On Samsung Galaxy phones, you don’t even need a third-party launcher. Just go to Settings > Display > Font size and style, then select from built-in fonts such as Roboto or Gothic Bold—or download additional ones straight from the Galaxy Themes store. Many themes automatically include matching fonts, so applying one can instantly refresh the entire look of your device.
If your device doesn’t natively support custom fonts, third-party apps like iFont (available on Google Play) allow you to install and manage them manually.
With just a few steps, you can completely redefine how Android displays text—whether you want a minimalist look, accessibility improvements, or a distinctive personal style.


